
Dryer Maintenance Tips in 8 Easy Steps
Regularly cleaning your dryer vent boosts its performance, improves energy efficiency, and helps prevent potential fire hazards. To clean it, first detach the vent from both the dryer and the wall. Then, clear out built-up lint using a long brush or a vacuum with a hose attachment. Follow this simple process to ensure your dryer continues to operate safely and effectively. For a thorough and professional service on your dryer, washer, or any other appliance, contact the specialists at SD Appliance Repair.
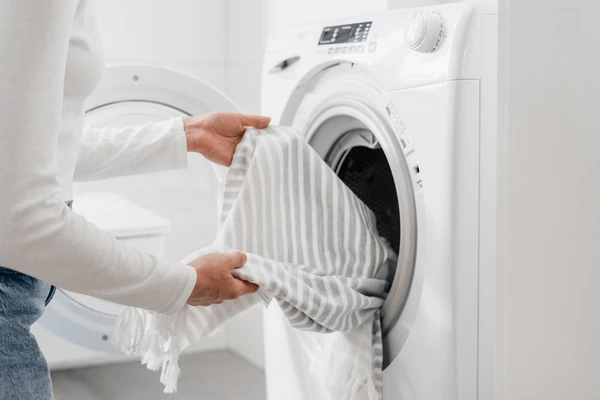
How to Clean a Dryer Vent in 8 Easy Steps
Many people overlook dryer vent maintenance until issues begin to appear, but routine cleaning is essential for keeping the appliance in good condition. SD Appliance Repair. Before learning the proper way to clean your dryer vent, it’s helpful to recognize the warning signs that indicate it needs to be cleaned.
Signs a Dryer Vent Needs Cleaning
When your dryer starts overheating or doesn’t perform as it should, it’s often a sign that the vent needs cleaning. Watch for these warning signals that your dryer vents may be clogged:
- Clothes take too long to dry: Poor airflow caused by lint buildup makes the dryer run longer and less efficiently.
- Weak or uneven heating: Restricted ventilation prevents the dryer from reaching the right temperature, extending drying times.
- Dryer feels unusually hot: A blocked vent traps heat, which can lead to overheating and even pose a fire risk.
If you notice any of these problems, it’s time to give your dryer vents a thorough cleaning using the steps below.
How to Clean a Dryer Vent
Cleaning your dryer vent is a straightforward task when you follow the correct steps and use the proper tools.
Here’s an eight-step process to get it done effectively:
- Clear the lint screen: Start by removing the lint screen and taking off any visible lint. Wash it with warm, soapy water and a soft brush to eliminate residue from dryer sheets. Let it dry completely before reinstalling.
- Clean inside the lint trap area: While the screen dries, use a long brush to loosen lint stuck inside the trap housing. A dryer cleaning kit with a brush and vacuum attachment makes this easier. After brushing, vacuum out any loose debris.
- Detach the vent hose: Unplug the dryer and gently pull it away from the wall. Remove the vent hose from both the dryer and the wall connection. If clamps are holding it in place, loosen them with a screwdriver.
- Brush the vent duct: Insert a vent brush into the duct, twisting it as you move it through to collect built-up lint. Repeat this motion several times until the brush comes out clean.
- Vacuum the vent: Use a vacuum hose to remove any remaining lint particles. Avoid using this method if the duct is made of delicate foil or plastic that could tear.
- Tidy the surrounding area: Vacuum around the back of the dryer and the floor near the vent opening to remove scattered lint.
- Clean the outside vent: Go outdoors and clear lint from the external vent cover using the same brush or vacuum attachment. Make sure the vent flaps can open and close freely.
- Reconnect everything: Attach the vent hose securely to both the dryer and wall outlet, ensuring a tight fit. Slide the dryer back into place and plug it in—your appliance is ready to run efficiently again.
How to Avoid Dryer Lint Buildup
Proper care and routine upkeep can significantly reduce the amount of lint that collects in your dryer.
Follow these simple habits to keep your dryer running safely and efficiently:
- Empty the lint screen after every load: Removing lint each time prevents buildup inside the trap and vents, allowing air to flow freely for better drying results.
- Keep the area around the dryer clean: Regularly dust and vacuum behind and under the appliance to maintain good airflow and prevent overheating.
- Clean the lint trap housing occasionally: Take out the screen and use a vacuum attachment to clear out any lint that has gathered in the compartment.
- Schedule vent cleanings twice a year: Even if your dryer seems to be working fine, clearing the vent every 6–12 months helps stop lint from collecting and causing problems.
While regular cleaning helps prevent most issues, it’s still possible for the dryer to develop other mechanical or performance-related faults over time.
You Appliance Will Be Fixed!
in San Diego, CA
REQUEST SERVICE
Book a Repair Appointment