How to repair a Microwave Oven

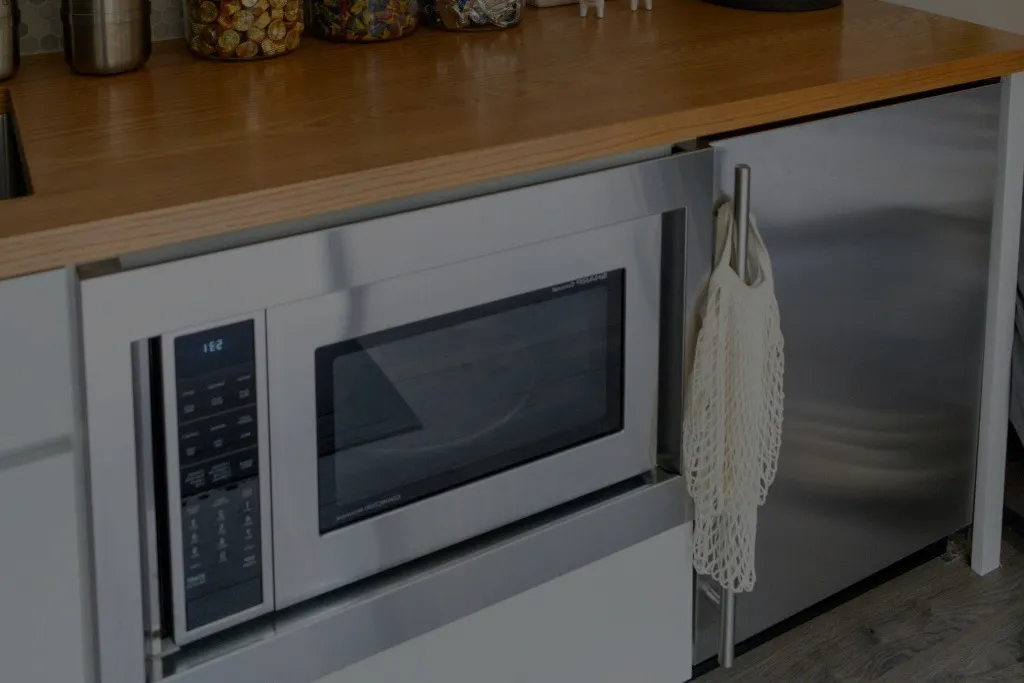
My microwave stopped working. It will be one more thing in the trash, and I will need to spend money to get a replacement. I decided to try to save the microwave. These are the steps I took. The cost was only $3.50. Warning: 1) Read the warning label and follow it. 2) Never open the back cover for the power plug-in. 3) The capacitor must be discharged before any repairs (In my case, the step isn’t included; see step 8).
Step 1: Remove moving parts and unplug power
Ensure the power cord has been unplugged before removing any moving parts.
Step 2: Open Back Cover
Two screws are on the right and one on the left. You can remove them easily using a standard screwdriver. A star screwdriver, however, is required for the four screws at the back.
Step 3: Check your fuse first
After opening the rear cover, first check the fuse. Then, I tested it with a tester that measures resistance. It means the fuse is blown. The microwave oven fuse is the only one that needs to be changed. However, it indicated a resistance value in the meter. That means that the fuse has not been broken. I need help finding other problems.
Step 4: Inspect door switches
Next, you will need to check the door switches. Three switches are located in the microwave. Press the pin by the switch and turn the switch around a little. After inspecting them individually, I noticed that one switch was different. Press the button, and there’s no sound.
Step 5: Check the Switch Inside
The contacts can’t be connected if you open the switch. If there is any plastic burnt, the switch should be changed.

Step 6: Replace the part
After identifying the model number and specifications on the back, I purchased an identical switch online to replace my broken switch. Its price is $3.50.
Step 7: Installing the New Switch
You must connect the wires to your new switch and install it correctly. You can reverse the steps I took. Close the back cover and drive all screws. Replace the moving pieces. The microwave oven will work perfectly if you plug in power.
Step 8: About the Discharge Capacitor
In my case, the microwave had stopped working after an extended period, and I only had one discharge resistor. I agree with the comments from the instructors. Before beginning any repair, the capacitor needs to be discharged. The capacitor is at the bottom corner of the back. My oven is covered in plastic. You can find out how to discharge capacitors online.
REQUEST SERVICE


